A Voxel Engine
Allowing players direct control over the geometry of the world space is the ultimate goal of a sandbox game. Voxels provide an expensive but complete solution by dividing up 3D space into discrete units and allowing the players to manipulate and interact with each unit. Minecraft is the greatest implementation as of yet of a complete Voxel world, but the low spatial resolution (1 block \(\approx\) 1 cubic meter) and simple lighting and physics systems restricts the gameplay potential of the engine.
This series will follow my attempt to build a voxel game engine in C++ using OpenGL which can do the following:
- Operate at a much higher spatial resolution than Minecraft
- Allow physics entities which can interact with the voxel environment without being locked to the voxel grid
- Allow realtime lighting and shadows
- Allow multiplayer
- Allow arbitrary-size worlds with a reasonable memory footprint
Obviously I don’t really expect to fulfill all of these goals but I think it will be more fun to aim for everything and look for a system which provides an elegant general solution.
Sparse Voxel Octrees
Almost everything in this article is derived from this Nvidia paper, but its a bit hard to parse for someone new to raytracing. The purpose of this article is to explain the math in the article and how I applied it to a voxel engine.
Octrees
Octrees are a common data structure which allows us to recursively divide 3D space. We can think of our world space as a root node with 8 children, who themselves have 8 children, and so on as needed. Its easiest to show visually:
The simplest way to represent 3D space with an octree is to build a full octree down to the spatial resolution we need. The depth of the tree is the 8th root of the number of voxels we want to represent. For a world with only 8 voxels, we need only a single layer octree, a single root with 8 octant children. Once we have a full tree, we can attach a single bit to each node which represents whether each voxel is on or off. This alone would allow us to approximate arbitrary geometry.
The structure of an octree allows us to cull children which do not add extra information. If all of a nodes children have the same state, we can remove the children and make that node a larger leaf node.
Ray Tracing with Octrees
Once we have a data structure which represents the voxel space, we need an algorithm to take a ray and tell us whether or not we hit the geometry. Recall that ray tracing means shooting out a ray for each pixel on the screen. If, for each pixel, we know whether or not the geometry is in its line of sight, we can render the geometry.
We represent rays as a parameterized line, \(r(t) = o + t * d\) where \(o\) is a 3D vector which represents the starting point of the ray, and \(d\) is a 3D vector which represents the direction of the ray. As \(t\) increases from 0, we travel along the ray away from the starting point in the direction \(d\).
Box Intersection
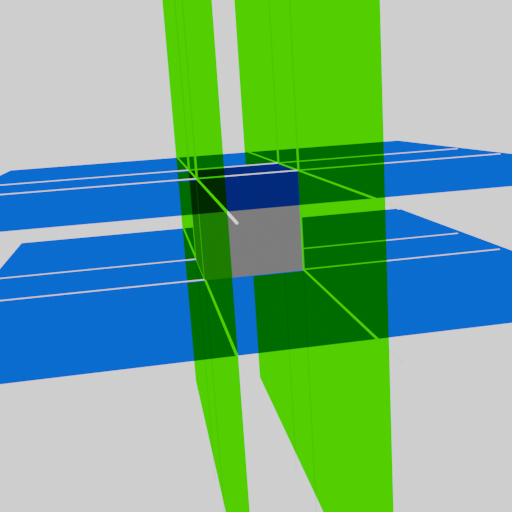
Everything with raytracing against an octree boils down to intersecting against boxes. We can think of a box as the intersection of three spaces between pairs of planes, one for each axis of the box.

Using our parameterized form of the ray, we find the time t when the ray enters and exits each of these spaces. This gives us three pairs of \((t_{min},t_{max})\) for the times during which the ray is passing through these spaces. If all three of these bands of times overlap at any point, we know there exists a point during which the ray was in all three spaces, meaning it was inside the box. We can check this by taking the largest \(t_{min}\) and checking if it is lower than the smallest \(t_{max}\).
The expensive part of the math here is intersecting the ray with each of the 6 planes to get the six t’s. Each of these operations takes multiple dot products, and doing this for many boxes for each ray could get expensive.
We can make intersecting the ray with each plane much easier by ensuring every voxel is axis-aligned, meaning each face of the cube is perpendicular to the x,y, or z-axis. This means that the equation for each plane is simply something like \(x = 3\), and we need only check when the ray crosses this point in the x-axis. This makes the equation for solving for t single dimensional and extremely cheap.
Keeping Track of Octants
Once we’ve determined that we’ve struck somewhere in the octree, we need to start thinking about where. This will essentially be a chain of values from 0 to 7 representing the path we take down the octree. We’ll keep track of these ids with a simple char, and use the first three bits to represent our ids. To make things even easier, we’ll use each bit to represent a dimension. For example, 010 means the negative x, positive y, negative z octant of the cube.
Octree Intersection
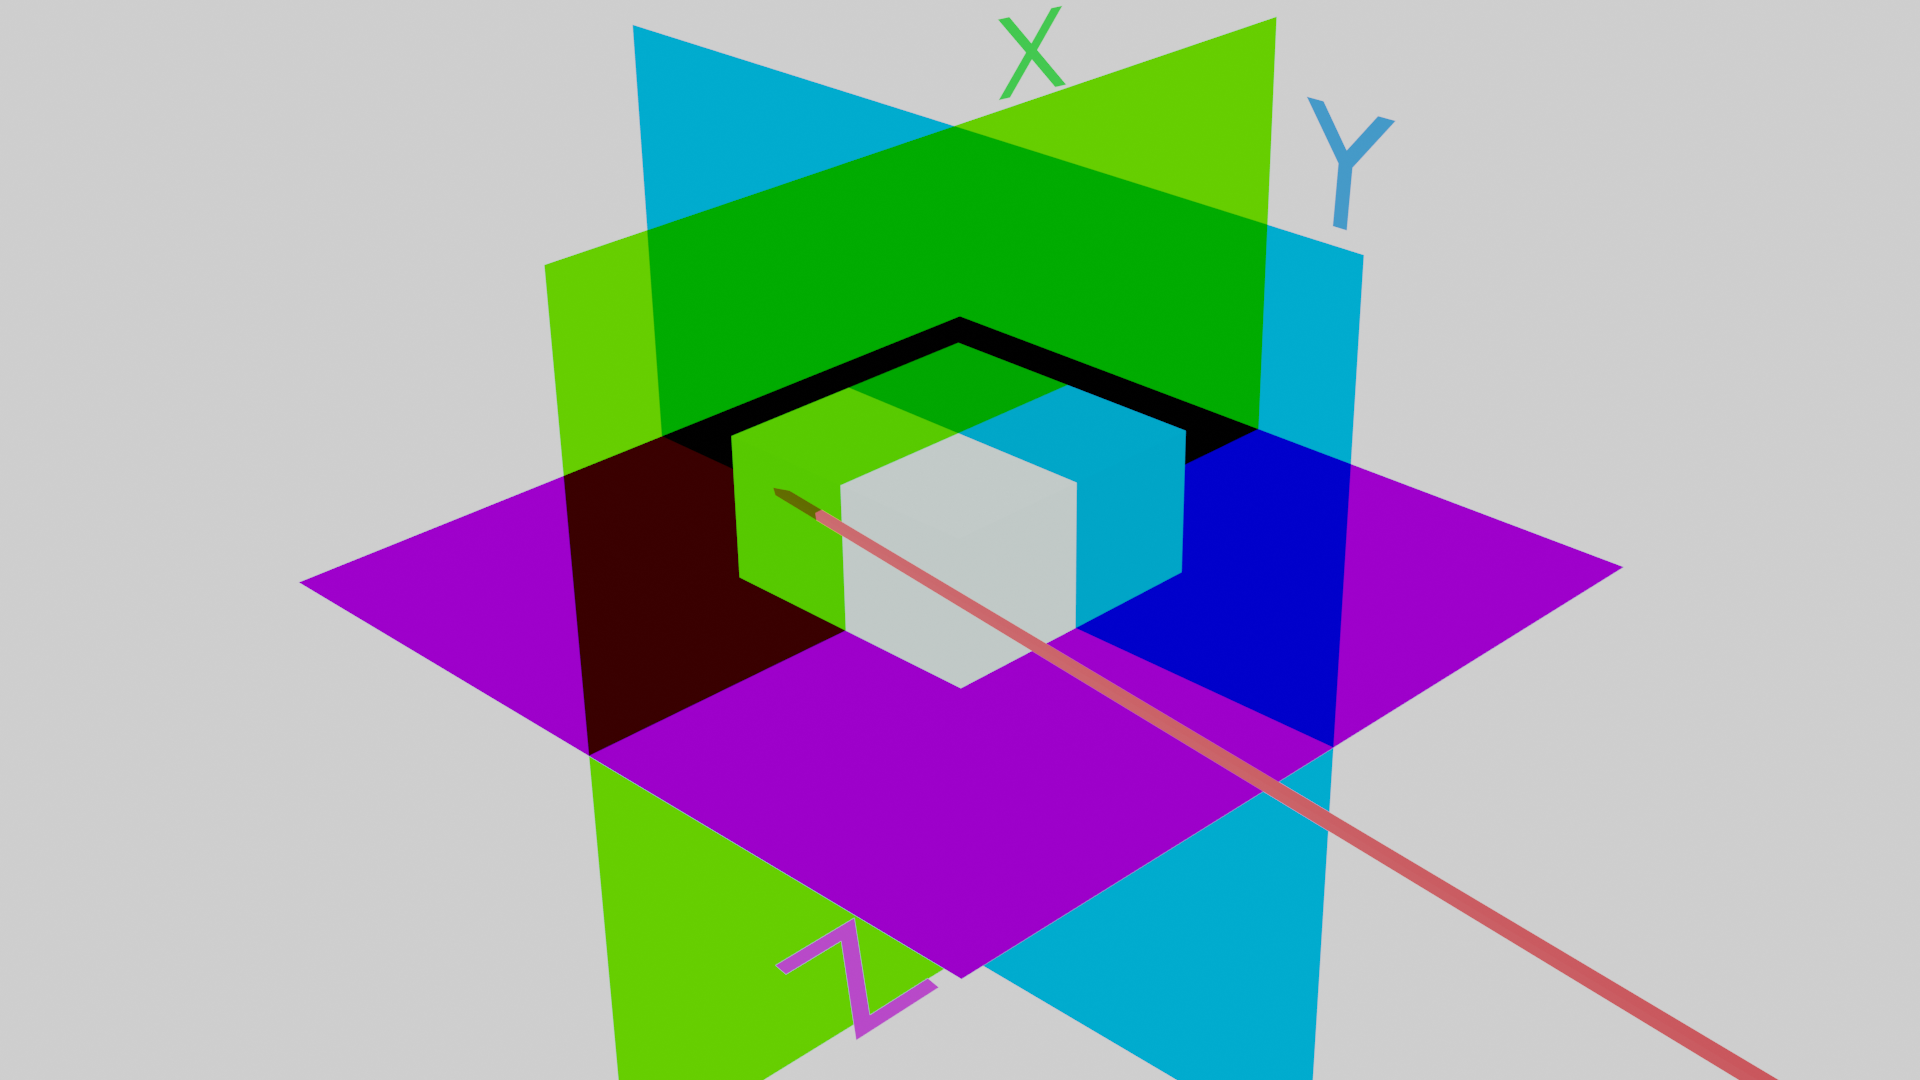
Now to actually find which octant we hit. We can achieve this by also measuring the time at which the ray passes the center of each of the plane spaces, \(t_{center}\).
At this point we know the ray has already hit some part of the octree, or the root node. This means we can play with the space inside the octree a little to simplify our next calculations. We take the sign of each of the dimensions of the ray, and mirror the octree along each dimension accordingly so that the ray is always approaching from the (+x, +y, +z) direction. For example, if the x,z components of the ray are positive, but the x is negative, we flip the octree along the x-axis so that we can flip the direction of the x-dimension of the ray and ensure the ray will still hit the same octant.
In order to flip the octree, we will create a new char which containt our correction bits. If we need to flip it along the x-axis, we can use the bits 100 and X-OR them with all of our future octant ids, and it will have the effect of reordering the entire octree as though it had been flipped along the x-axis.
Now that each dimension of our ray is positive (really what matters is that it is always approaching the cube from the same direction), it is very easy to determine the octant based on the time we hit each center plane relative to the time we hit the actual cube. From the previous step, we have \(t_{max}\) which represent ths time we actually strike the octree. If we pass one of the center planes before we hit the cube, this means the octant we hit is on the ‘far’ side relative to the origin direction. For example, if we strike the center z-plane (the plane which is orthogonal to the z-axis and passes through the center of the cube) before striking the cube itself, this means that the octant we struck is in the lower half of the cube. If we struck it before entering the cube, our goal octant would be in the upper half.

Each central plane calculation essentially divides in half the number of possible octants we hit, and after determining all three we can identify exactly which octant we struck.
Octree Recursion
Once we’ve identified which octant we’ve hit, we can decend down into our octree datastructure with our octree id, and set a new \(t_{max}\), and repeat the whole process again. We call this operation PUSH, because we store the ids we traveled through in a stack.
We keep track of the “scale” we are operating at with a float which we divide by two each time we descend. We now just need to recalculate our central planes and repeat the process.
Evaluate Leaf Nodes
Once we get down to a leaf node, or a node where there is no further subdivision of space, we need to check if the node is empty or full. If it is full, we are done. We can capture the material information for that final node and exit the calculation of that ray. If it is empty, we need to continue along the ray until we find one that is full, or exit the entire octree. This is called an ADVANCE operation, and requires making use of our stack of octant ids to scale up and move along the ray. This can get a little complicated, but the basic idea is that we identify the side of the octant that we exited (the x, y, or z direction), and determine if there is more room along the ray for the ray to continue in this node (essentially, are we on the 0 (close) side, or the 1 (far) side). If there is room, we simple flip the bit of our octant id in that direction and continue. If there isn’t, we need to move up in scale until we do. This is called a POP operation, because we pop octant ids from the stack. We may pop all the way out of the root node, in which case we have missed the octree entirely and need to render something else, usually a skybox.